When the 3d printer is hosted in your living space, it is better accepted by the household if it has an attractive look. The Stealthburner toolhead is lighted by 3 LEDs and gives a unique design to your printer. It is not the easiest mod though, because it requires soldering skills. This article reviews an easier way to implement it with pre-soldered and pre-wired Stealthburner LED wiring harness.
What is the Stealthburner?
It is a performant DIY dual-drive direct toolhead developed by VoronDesign. It supports all latest hotends. It was developed for Voron 3d printers. There are community-designed carriages that allow to install it also on budget printers like Ender3, CR10, etc. Check Thingiverse for adapters for your printer.
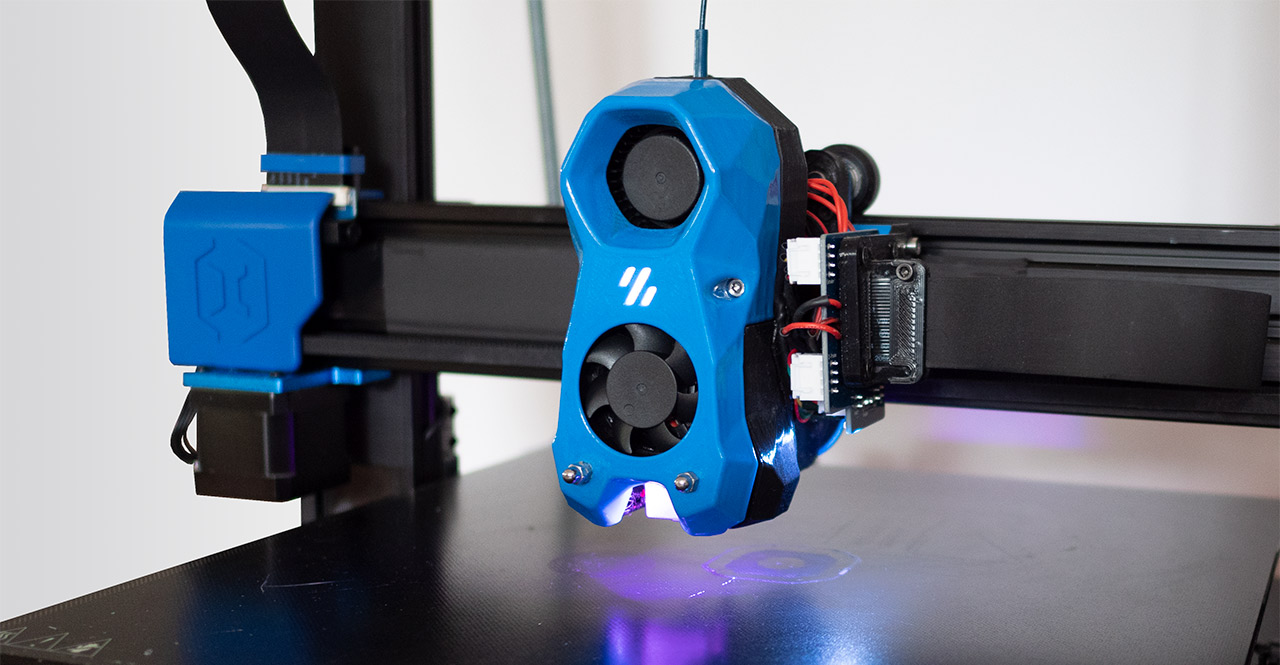
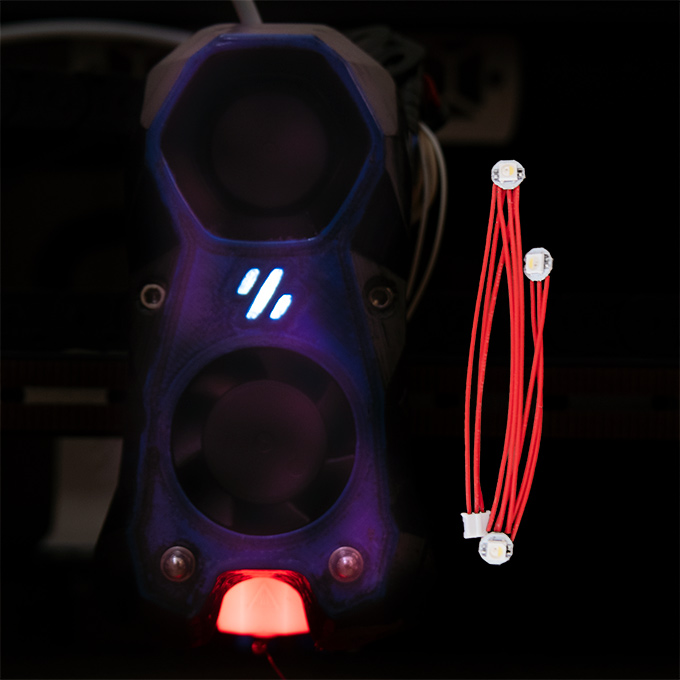
The Stealthburner is illuminated by 3 RGBW neopixels – one for the Voron logo in the center and two for the nozzle). Users can set whatever custom colors they like or different colors for the logo and for the nozzle. It is possible to change colors with gcode and have different color codes for various printer states – standby, heating, leveling, meshing, printing, etc.
The most difficult stage in Stealthburner assembly is integrating the LEDs in the SB front cover. There are 2 ways to prepare your LED wiring assembly: DIY or buy a pre-wired/pre-soldered LED wiring harness.
DIY LEDs wiring
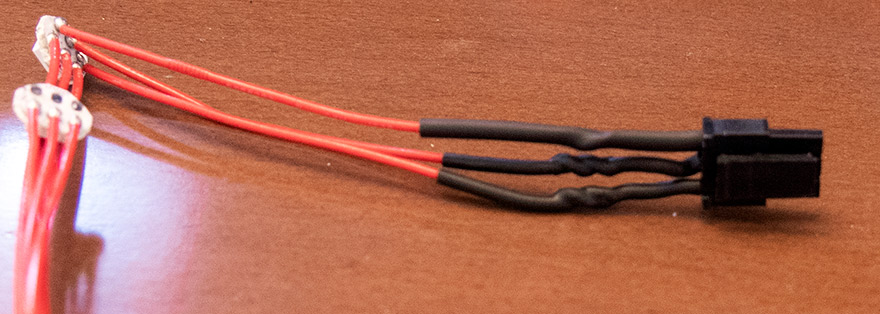
If you are good at soldering, you can buy RGBW LED PCBs and prepare the wiring yourself. There are 15 solder points and one connector installation.
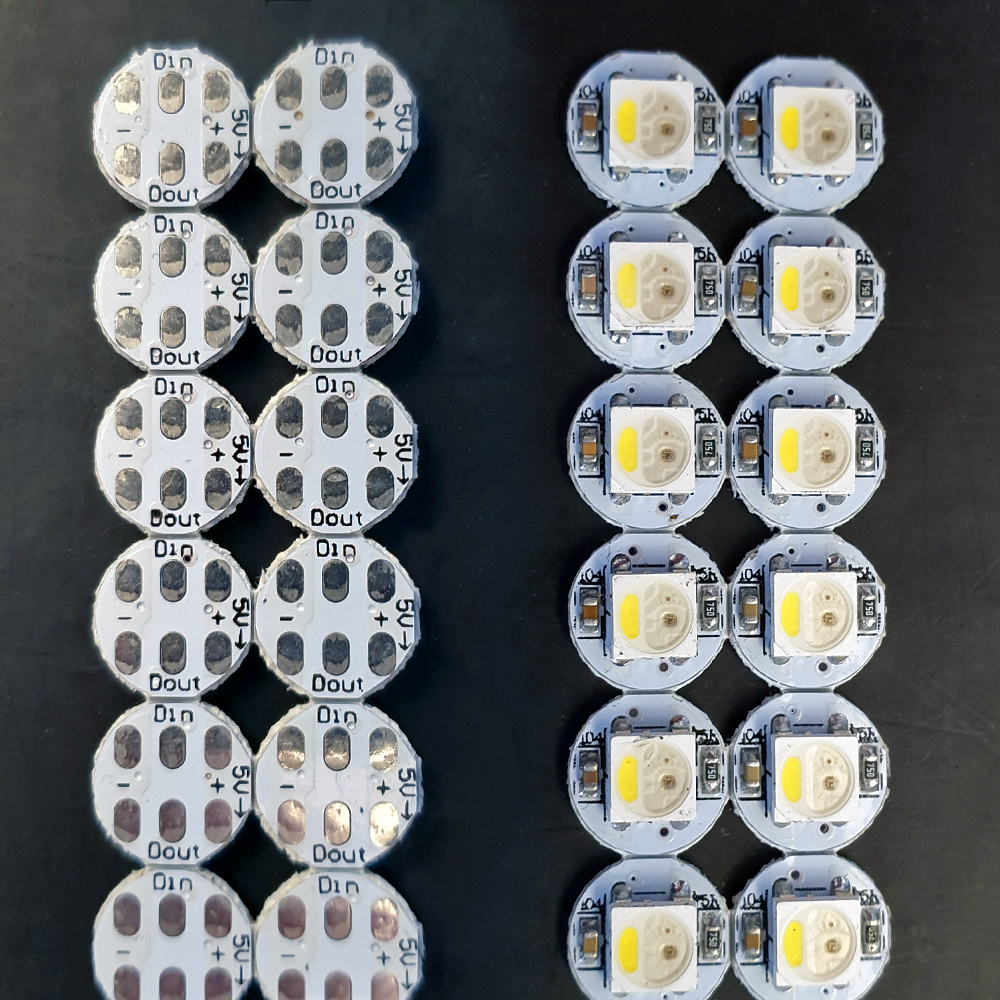
They are sold by MOQ of 10 for less than $5.
Check the price on Aliexpress.
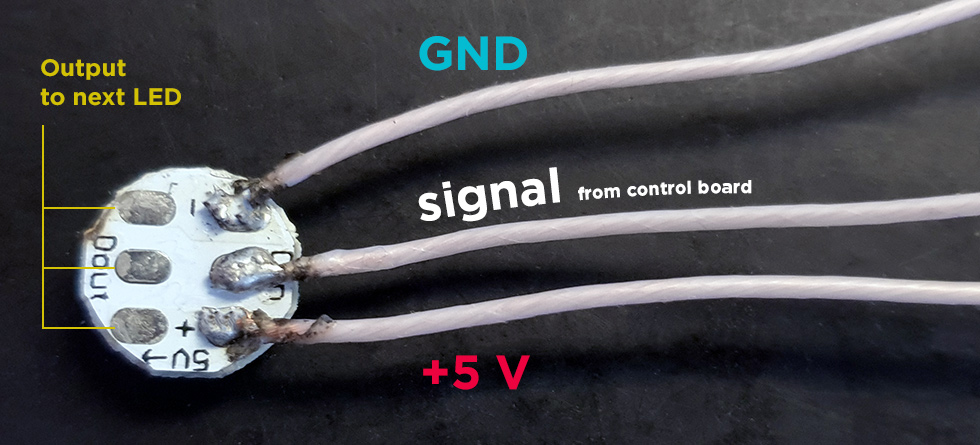
The advantage of doing the wiring assembly yourself is that you can choose the type of wires and connector. For example, in the photo above I use PTFE-isolated wires, but I did also projects with soft silicon-isolated wires.
The big disadvantage is that the LED PCB buttons are very small and you need decent soldering iron and skills. Moreover, if you make a mistake, like a wrong connection or bad measurement of wire lengths, you may need to redo several soldering points.
Pre-wired LEDs for the Stealthburner
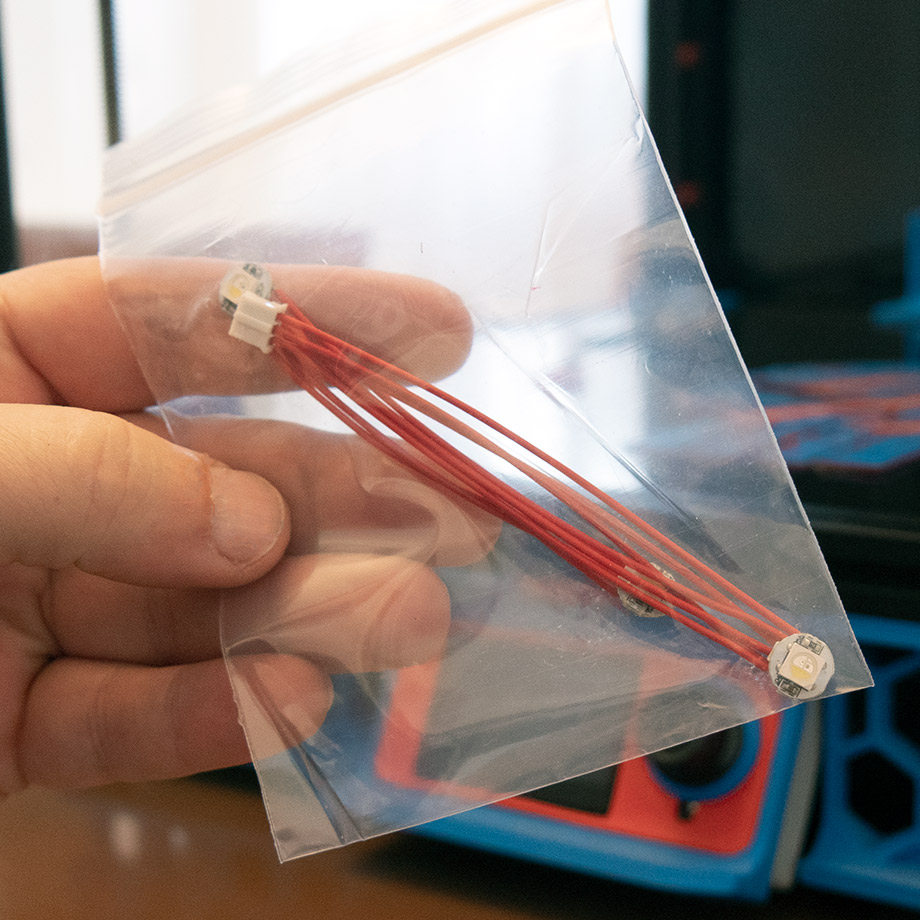
For my 3rd Stealthburner toolhead project, I decided to use pre-wired and pre-soldered Stealtburner LEDs. I found them on Aliexpress and I’m pretty sure this product wasn’t available a few months back.
Check the price on Aliexpress.
The good: soldering is well done, the LED’s are working, and the wires are the right length.
The not-so-good: The wires are Teflon (PTFE) isolated, however, the isolation is not as flexible as a normal brand PTFE, but rigid. I had a hard time installing it on the SB front cover. It is surprising for me to choose an expensive and wear-resistant wire for a static installation. A soft silicon-isolated wire would be a better choice.
The wrong: The connector, which I thought is a standard JST type is something else. It is smaller and doesn’t fit a male JST connector. Afterward, I saw it is PH2.0 standard. Probably this connector fits in Voron PCB connection boards, however, the manufacturer could have included one male connector for those that rely on traditional wiring.

It is manageable but could be easier with softer wires.
These minuses are minor compared to the big advantage of a ready-to-install Stealthburner LEDs wiring harness and I can recommend this product to those who don’t feel confident in soldering.
Will I buy it again? Probably not, because I prefer to use different wires and connectors. But the end result is the same – a beautifully illuminated toolhead.